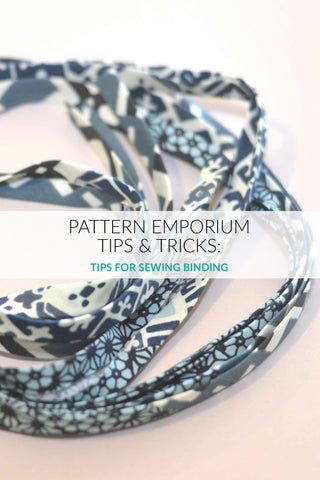
Outlined below are two easy methods to sew bias binding onto your next sewing project to add detail to pockets, drawstrings, etc.
TOOLS: You can either use your general presser foot
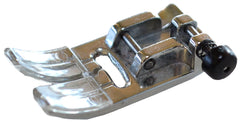
or a edge seam foot like the 1/4" seam foot. Check your little kitty of machine feet. This one often comes with your sewing machine.
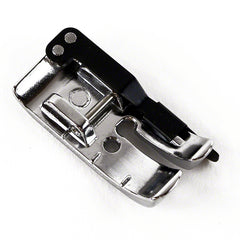
BINDING: You can use your own custom binding or store-bought binding. If you wish to learn how to cut and make your own custom binding, click here for a short tutorial.
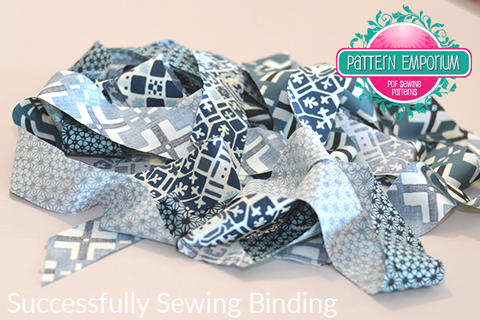
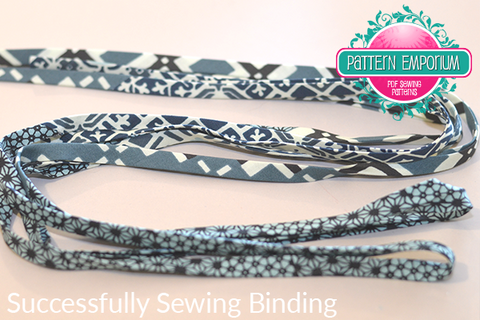
1. One Step Binding
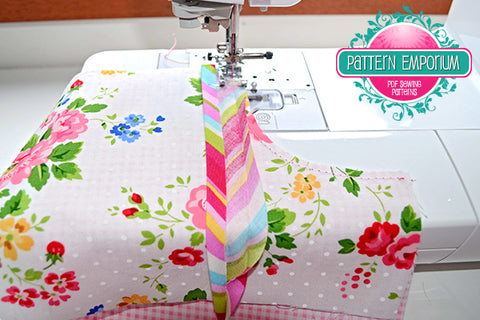
This is the way I sew on binding. It's super fast & easy. You basically treat the garment like a sandwich: the main part of your garment is the filler & your binding is the bread.
1/4" Seam Foot:Here i've used 18mm single fold binding & a 1/4" seam foot.
1) Align the edge of the fabric with the side of the foot;
2) Move the needle over to the left so it sits perfectly in the little hole;
3) With right side facing up, sandwich the garment between the folds of the binding where you wish to sew the binding.
4) Straight stitch along the edge of the binding, making sure you have caught the underneath edge of the binding too (on the wrong side of the fabric).
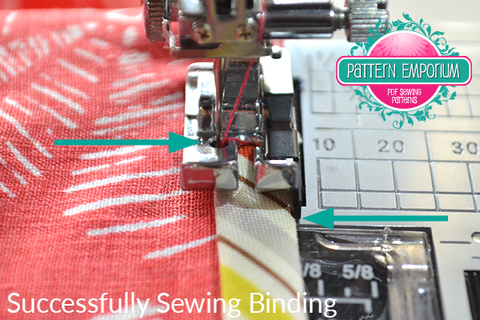
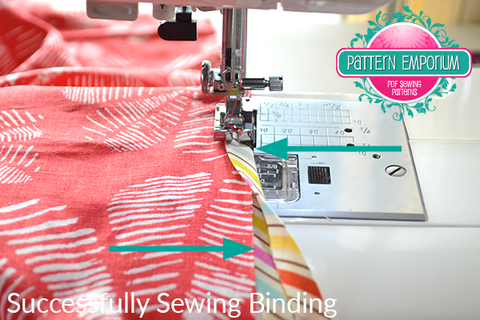
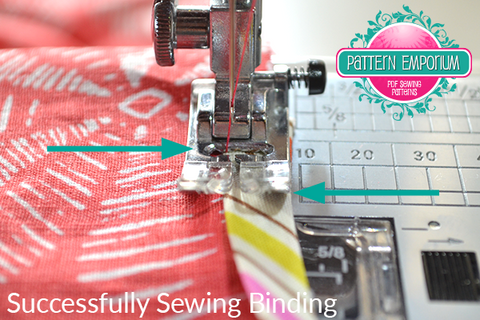
General Presser Foot:
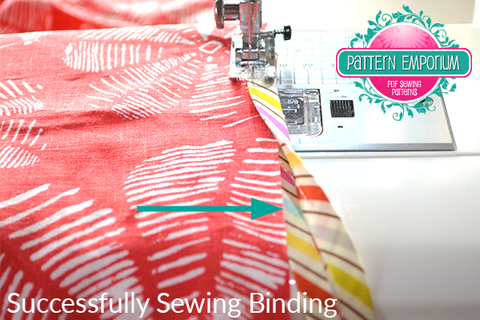
Here I've used 18mm single fold binding & a normal presser foot. The same process applies. Align the edge of the binding & move the needle to the perfect position.
1. Two Step Binding
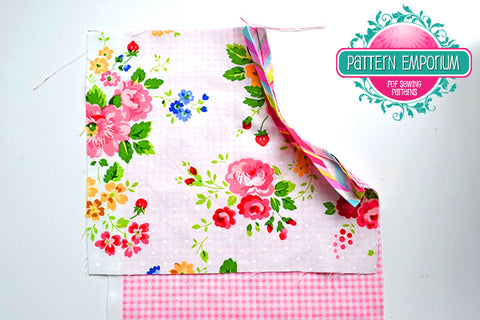
1) Open the binding out & pin the right side of the binding strip to the wrong side of your garment.
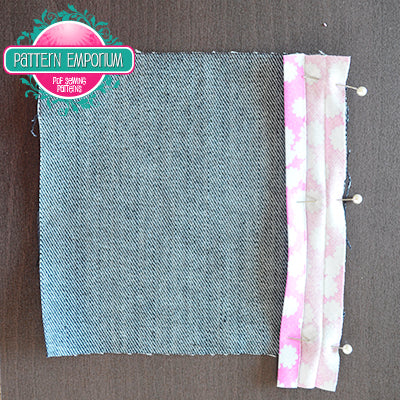
2) Straight stitch along the first fold line on the binding.
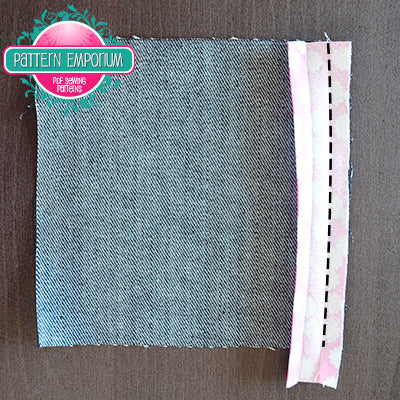
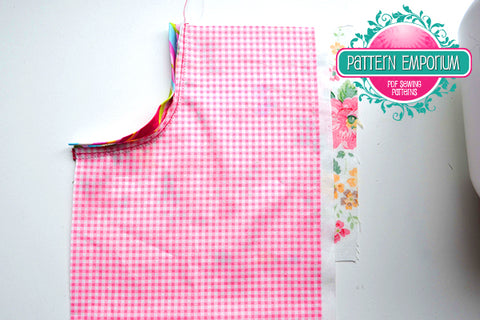
3) Carefully iron the seam away from the main fabric, towards the binding.
NOTE: Don't iron away the folds on your binding.
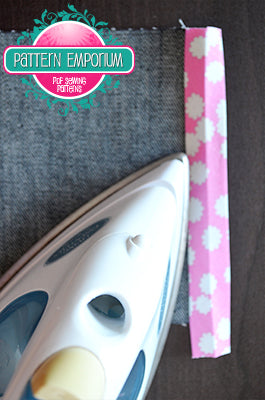
4) Turn the garment over.
Iron it flat by placing the iron up/down (rather than pushing it side to side). This will set your binding in place and make it easier to sew without buckling.
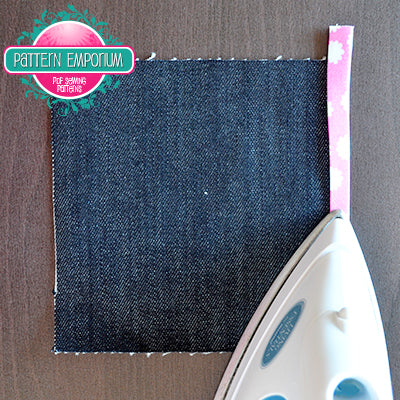
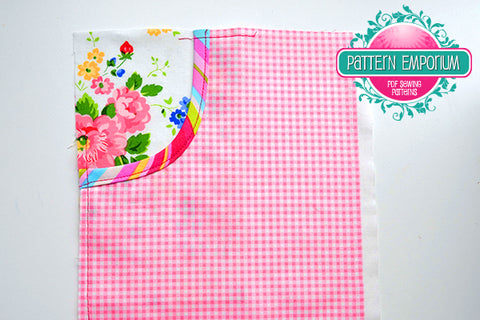
5) On the right side, straight stitch along the edge of the binding, sewing it down neatly. You want this to be nice and even. Use the machine foot as a guide.
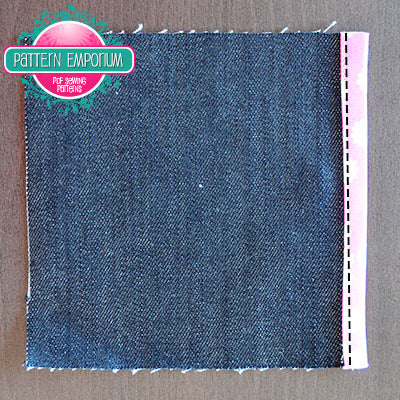
Here is the 2-Step method on a pocket.
