A Simple Guide to Successful Topstitching
Cargo Pants are all about the pockets and the topstitching. So here are a few tips to make your topstitching look neat & professional.

TIP #1: Topstitching Width
How wide apart you stitch the double topstitching rows is totally up to you. BUT your first row of stitching must sit close to the edge of your pocket or seam: no more that 2-3mm. Any wider & your garment loses that ‘professional’ look.
Grab your ruler & go to your closet. Have a look at clothing with topstitching. Measure a few & you will see what I mean.
SINGLE TOPSTITCHING: For the most part my single row of topstitching is approximately 2-3mm (1/8”) from the seam/edge. It is VERY IMPORTANT to keep this stitch close to the edge of seam. See TIP #2.
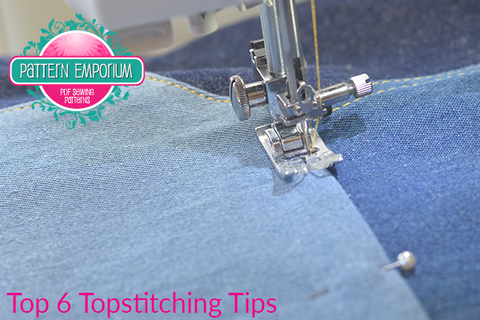
DOUBLE TOPSTITCHING: My 2nd row, when double topstitching, is then approximately 5-6mm (1/4”) from the first row.
NOTE that when you do your second row, as you’re still using your foot as a guide, your needle will need to be moved to a new position. For digital machines, remember to re-adjust your stitch length too if necessary.

TIP #2: Topstitch Length
Set your machine to a slightly longer stitch to do your topstitching. On my Janome sewing machine my regular stitch is around on 2.2-2.5. So for topstitching use a stitch length of 3-3.5.
TIP #3: Topstitching Thread
I am not a fan of topstitching thread. I find it tends to get caught when you backstitch & often frays just above the needle causing it to snap halfway along a seam.
TRY THIS TRICK INSTEAD: Add a second spool of normal sewing thread & thread it through the same needle eye as the first spool.
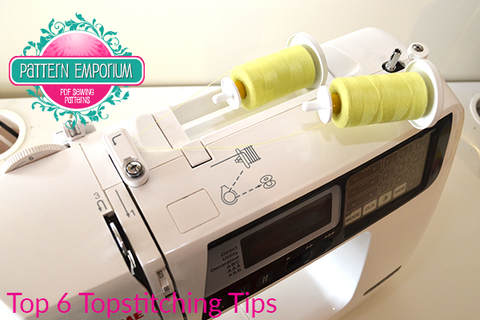
Take a look in your manual & use the same threading method they advise for using a twin needle, except thread the second thread through the same needle eye as the first.
TIP #4: Topstitching Straight
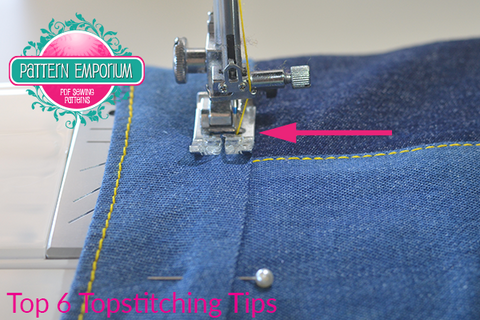
ALWAYS use the edge of the machine foot as a guide to keep your stitching straight. You can then simply just move your needle to the right position.
Don’t just rely on your eye!
PICTURED: Below I am topstitching the waistband of the Ladies Chelsea Skirt. I have aligned the right hand side of foot with the waistband seam, using it as a constant guide. I have also moved the needle position all the way to the right.
TIP #5: Topstitching Corners
It’s going to take some practice to automatically know when you’re close enough to the edge to turn the corner and still maintain your even stitch width.
This is where it’s crucial to use your machine foot as a guide.
Simply sew to what looks like close enough to the edge, keep the needle down, lift the foot & turn your work.
Once you pop the foot back down you can easily see if you’re in the right position. If not, lift the foot again, turn your work back to where it was and stitch that extra stitch or two.
TWIN NEEDLES: Yes, twin needles are great for straight seams like your front pocket, side seams, back yoke & hems BUT... avoid them on your back & side pockets as they don't turn corners well.
TIP #6: Keeping Notes
Write notes on your patterns outlining what stitch length & width you’ve used.
Alternatively add an album to your phone, take a photo of your settings.
If you're sewing denim, take a look at our Tips for Sewing Denim guide here.


