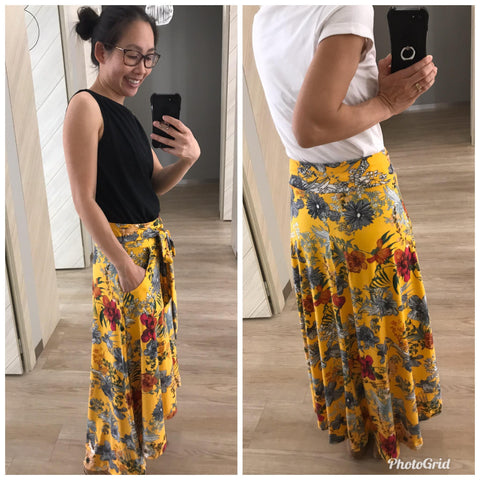
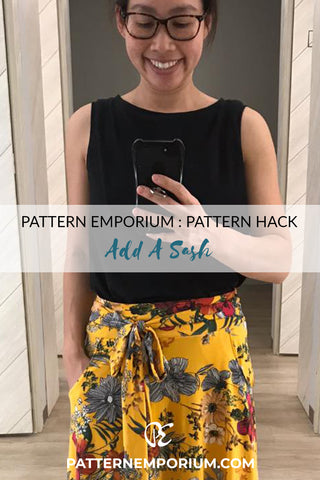
PATTERN HACK : ADD A WAIST SASH TO THE STARLIGHT & HEARTLIGHT SKIRTS
by Mel Stevens

PATTERNS USED:
This sash is to be inserted into the side seams of the waistband. It does not go around the whole waist.

ADJUST IT:
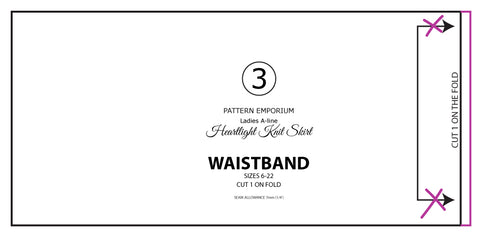
The pattern provides measurements for a waistband with one (centre back) seam. For this hack you need side seams.
1. Add another 7mm (1/4") to the waistband length
CUT IT:
2. Cut 2 of the new waistband piece (instead of 1 on the fold).
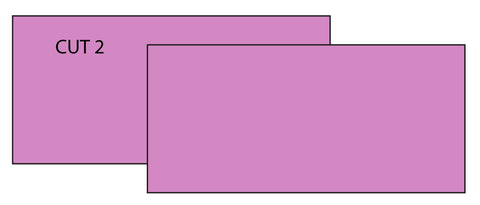
Next you'll cut the sash.
3. Measure your waist.
4. Cut two pieces this length. Width: 10cm (4").
Eg: if your waist is a size14=90cm, then you will cut TWO strips 90cm long x 10cm wide.

SEW IT:
Next you'll sew the sash.
5. Fold each sash in half and overlock or straight stitch the LONG edges together, leaving an opening on one short end.
NOTE: This opened raw end will be used to turn it right side out and also will be sewn into the side seam. If you like, you can sew the closed end at an angle so your bow-tails are pointy and angled.
6. Iron along the seam to flatten out any bumps.
7. Turn right sides out. Iron your two sashes again.

NOTE: If you like to tie your bow slightly off centre, then make one of those sash ties slightly longer than the other. For example instead of 90cm & 90cm, make it 100cm and 80cm.
Next you'll add the sash to the waistband.
8. CENTRE the sash in the middle of the OUTER portion of the waistband.
To do this, grab one of your waistband pieces. Mark 3.5cm (1 3/8”) up from the bottom of the left and right side seam.
9. Find the centre of the sash by folding it in half at the raw edge. Make a finger crease or pop in a pin.
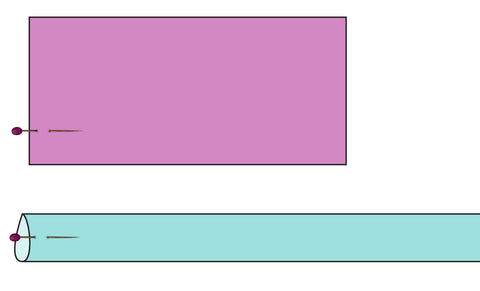
10. Next, align these two marks, and baste.
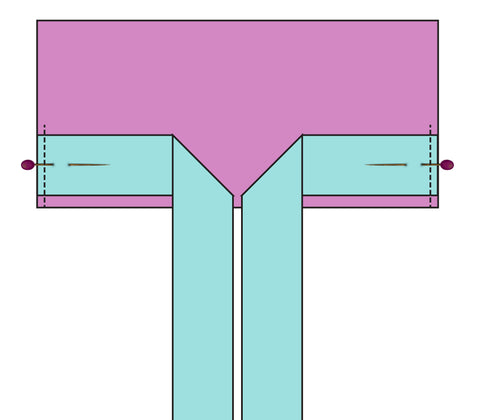
Note: An easier way to find the centrepoint of your outer WB is just to fold the WB in half, and half again, bearing in mind the 1/4” seam allowance.
11. Grab your other waist piece (the back). With right sides together, align it with the front waistband (with the sash attached). Pin.
12. Overlock the side seams of waistband.
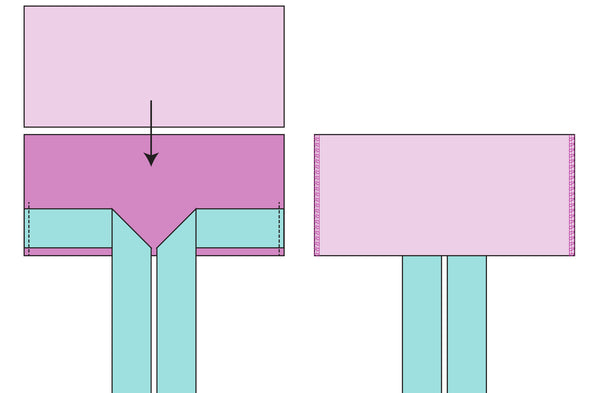
13. Turn right sides out and fold down your waistband so you now have a finished WB. Your WB with sash sewn into the side seams is complete.

14. Sew it to your skirt as outlined in the tutorial, ensuring that the sash is right sides together with the skirt outer.
