


DIY Drawstring Ties
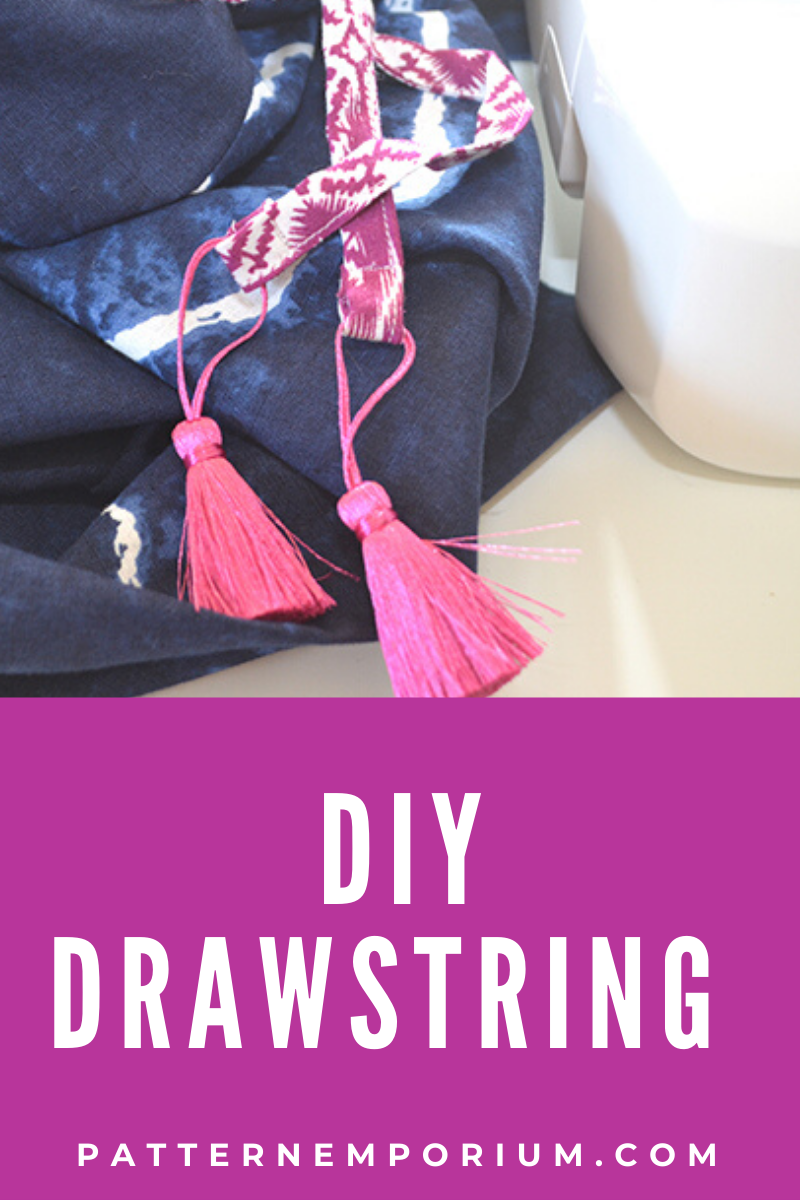
Learn how to make your own drawstring ties with binding. Super easy & neat method to create drawstring ties. Includes a video on using a 1/4" seam foot.

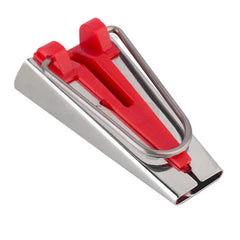
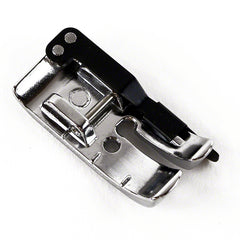
Step 1: Gather Your Tools - Binding Tool & Machine Foot
This one's the Clover 3/4"Bias Tape Maker. They come in lots of different sizes to make different width binding.
This is the 1/4" seam foot. It comes as part of your sewing machine kitty of machine feet. You don't need one but it does make sewing binding easier & neater. If you don't have one, simply use your general sewing foot.
Step 2: Cut Your Binding
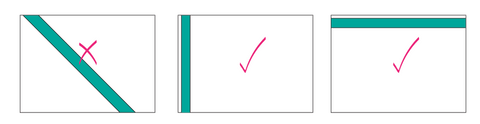
There are two different ways to cut binding.
#1. Bias Binding - each strip is cut on a 45 degree angle, diagonally across the fabric. We do this to create a little stretch that makes it easier & neater to sew around corners. Perfect for necklines, curved hemlines & around curved pocket openings.
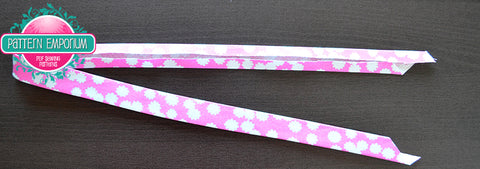
#2. Straight Binding for ties (eg. Drawstrings) - each strip is cut either across or up/down the fabric along the straight grain as there is no need for these to have any stretch. This is the method we'll use for drawstrings.
Work out how much you need and cut to length using #2 method above.
Fabric not long/wide enough?
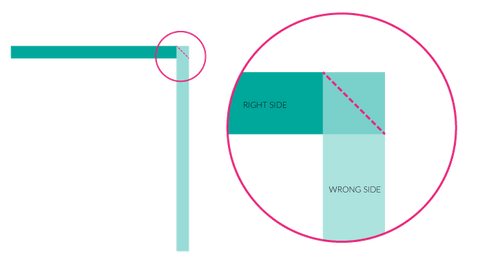
It's easy to join strips together to form one long drawstring. Follow the steps below. It's important that your seam is on a 45degree angle to stop the joins being bulky & noticeable.
1) Cut however many strips you need that add up to approximately 20cm (8") over the length required;

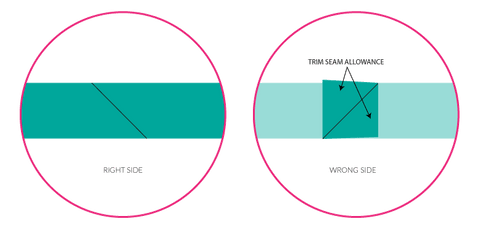
2) With right sides together, straight stitch from corner to corner (at right angles);
3) Iron seams open & trim.

Step 3: Make Your Binding
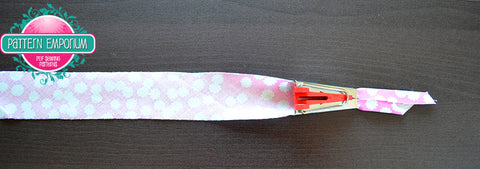
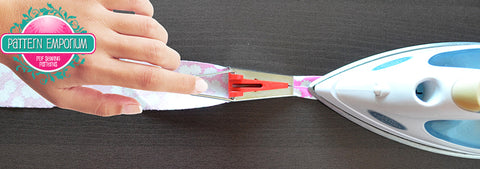
1) Use a binding tool to make your binding as pictured below. Watch out for your fingers!!
(Tip: blow the steam away as you iron your binding flat)
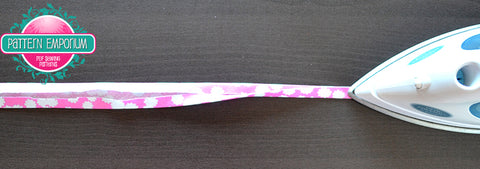
2) Iron the binding in half, length wise.
Step 4: Sewing Your Binding
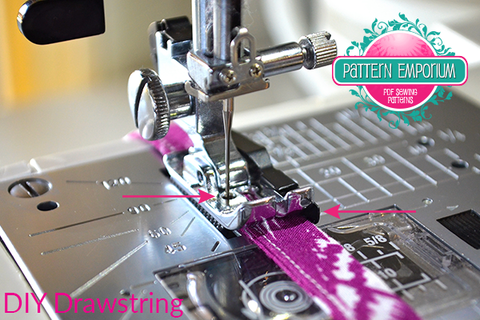
The neatest way to sew your binding together is with a 1/4" seam foot. But don't worry if you don't have one.
1) My finished (double fold) binding width below is approximately 1cm (3/8"). I used an 18mm tool (#18 Clover) to make 18-20mm single fold binding.
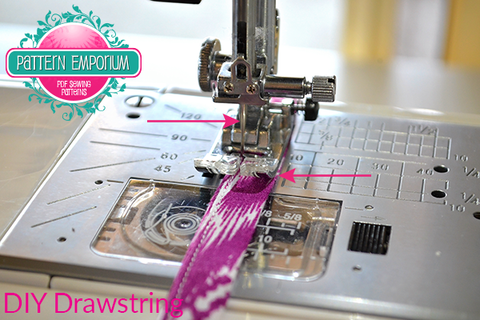
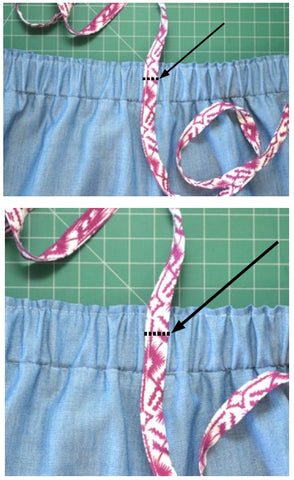
Right arrow: In this picture, notice how the folded edge of the binding (right) is right up against the black guide of the 1/4" seam foot. This keeps your stitching nice and straight.
Left arrow: I have moved my needle all the way to the left so it fits neatly inside that little hole.
Click here to watch a video of the 1/4" seam foot in action. It also works beautifully if you're sewing binding around a neckline or pocket edge.
2) Below is sewing along the edge using your general machine foot.
It's pretty easy to just use your normal sewing machine foot as long as you line the edge of your binding up with the foot, move your needle across if necessary & keep a careful eye as you sew.
Step 5: Insert/Attach Your Drawstring
(1) Summer Breeze Dress:
Follow your patterns instructions to insert or attach your drawstring. I personally find this easier to do, in most instances, without finishing the edges (but again, this does depend on the sewing pattern).
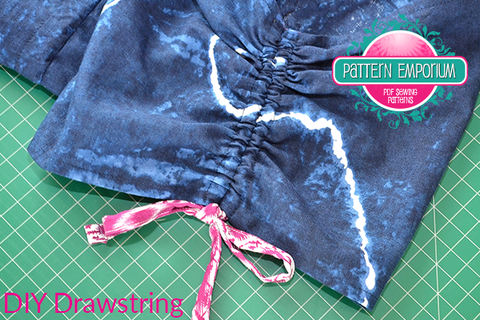
(2) Attaching to a Waistband:
To attach a drawstring to a skirt, shorts or pant waistband
- Find the centre of the drawstring.
- Place it, vertically, at centre front of waistband.
- Stitch horizontally across the drawstring to secure in place.
Step 6: Decorate Your Binding
There are lots gorgeous ways you can finish the ends of your binding. Here are a few:
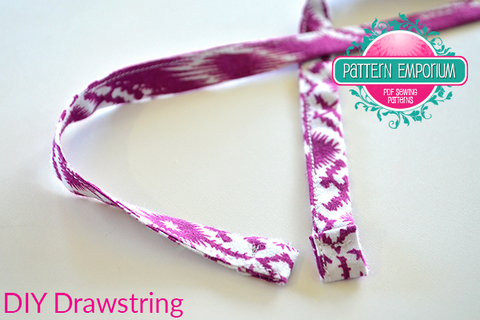
1) Simple double turned edge.
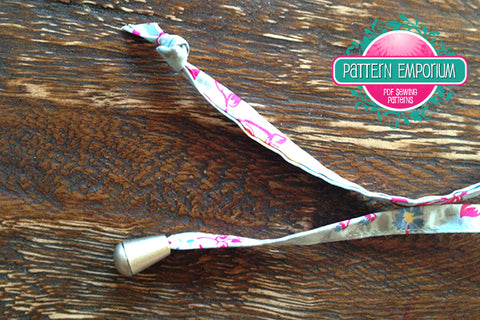
2) Knotted or Toggle ends
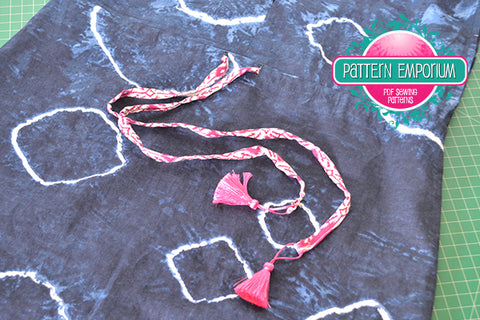
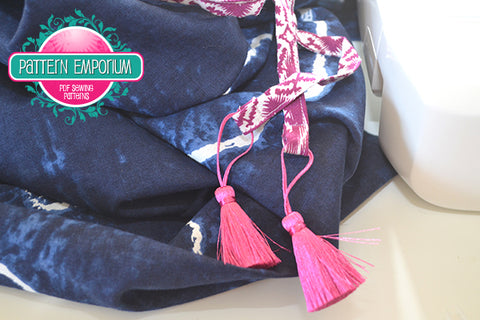
3) Rayon Tassels
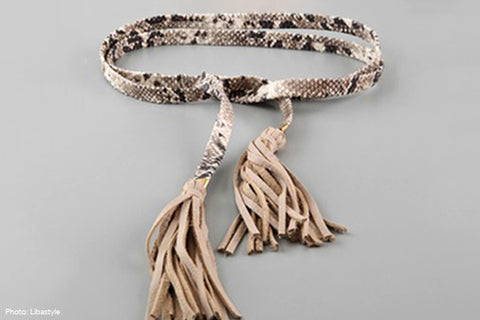
4) Leather or Suede Tassels (stay tuned for a super simply DIY Tassel tutorial coming soon)
And that's all there is too it.
Happy sewing!
Kate


